


EUR
5,29 Excl. VAT
*
EUR
6,30 VAT included
*


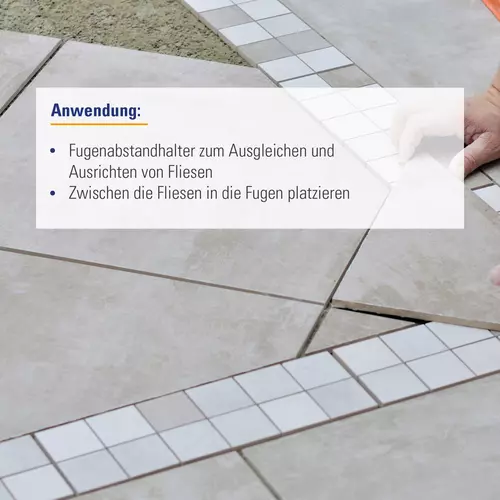

A precise grout layout plays a key role in how high-quality a tiled surface will look in the end. With the 3 mm tile spacer in a U-shape, you ensure that every single tile remains perfectly positioned. The spacers reliably define the joint width, prevent movement during the drying phase, and help you work cleanly from the very beginning.
Especially on larger areas or long sight lines, even the smallest deviations immediately catch the eye. All the more important to use a tool that practically dictates precision. This is exactly where the 3 mm tile spacer shows its strength.
The spacers come in a pack of 100 pieces. This means you are perfectly equipped for small renovations as well as extensive projects – whether on walls or floors.
3 mm is one of the most commonly used grout sizes. It offers enough tolerance to compensate minimal dimensional differences in tiles while still creating a clear and harmonious appearance. The joints are well defined without being too dominant.
Especially with non-rectified tiles or slightly uneven substrates, this joint width delivers reliable results.
Application is intentionally simple. The 3 mm tile spacer is pushed into the open joint between two tiles. Thanks to its shape, it sits securely, does not tilt, and keeps the spacing automatically constant. Re-measuring or constant corrections are therefore significantly reduced.
While the tile adhesive sets, the tiles remain safely in position. This saves time, reduces stress, and increases precision – especially with large-format tiles or complex laying patterns.
Once the surface is firm enough, the spacers can be removed easily. What remains is a uniform joint that is perfectly prepared for grouting.
Using them brings noticeable relief in every phase of your project:
Many tiling mistakes are not caused by lack of skill but by tiles shifting. Once the spacing is off, the misalignment often continues across the entire area. With the 3 mm tile spacer, you work in a controlled way from the start and avoid such chain reactions.
The result: clean lines, even joints, and a look that convinces.
Depending on the tile and the desired design, other widths may make sense. In addition to the 3 mm version, the spacers are also available in 1.5 mm and 2 mm. Anyone working on different projects benefits from a set with multiple sizes.
Tile spacers define the exact distance between two tiles. This creates straight lines and a harmonious overall appearance. At the same time, they prevent individual elements from shifting while the adhesive has not yet hardened. This not only makes alignment easier but also improves the quality of the later grouting.
A 3 mm joint is suitable for many standard formats and is particularly helpful when slight dimensional deviations are present. It ensures a balanced look and provides enough flexibility to achieve a clean installation. That is why it is one of the most popular widths in both private and professional applications.
The spacer is simply placed between two tiles. Thanks to the U-shape, it sits securely and automatically keeps the elements apart. While the adhesive sets, the position remains stable and you hardly need to readjust. This speeds up the work and ensures consistent results across the entire surface.
The right moment is when the tiles can no longer move. If you wait too long, the spacers may adhere more strongly to the adhesive. If removed in time, the joints remain clean and clear – perfectly prepared for the next step.
After removal, the spacers can be used again if they are not bent and only show minimal adhesive residue. However, many installers treat them as consumables to always have precise and clean pieces available.
Professionals benefit from time savings and higher repeat accuracy. DIY users gain confidence during alignment and avoid typical beginner mistakes. The difference is particularly noticeable on large or highly visible areas.


